Feature for Product Mapping to Separate Xero Accounts - Xero Bridge app
By default, our app assigns the sales account code to the products in Xero as mentioned in below two cases.
1. While syncing the product from Shopify to Xero, if the product with a matching SKU exists in Xero then our app will map that product and will use the sales account code entered in Xero for that product.
2. While syncing the product from Shopify to Xero, if the product with a matching SKU does not exist in Xero, then our app creates a new product in Xero and it uses the sales account code you have selected on the 2nd tab of our app settings in Xero Account for Sales.
This feature will sync the orders to respective accounts on the basis of product types assigned to the products in Shopify.
For example, if you have products Shirt, Pant, T-shirt, Trouser in Shopify and your requirement is to sync the sales associated with these products to be synced to specific account code in Xero then you have to assign the same product type in Shopify to these products to set this feature.
Let's say you assigned “Clothes” product type to these products and want the sales of these products to be synced to account code 301 then this feature can be set.
Note: If any product does not have a product type assigned in Shopify then in that case, our app will sync that products and its sales to the sales account you have selected on the 2nd tab of our app settings.
This feature can be set up by our team. To configure this feature, you have to provide the product types and their respective account codes to our support team so they can set this feature.
Contact our support team at xospsupport@parextech.com or from the Contact Us page of this site to set this feature.
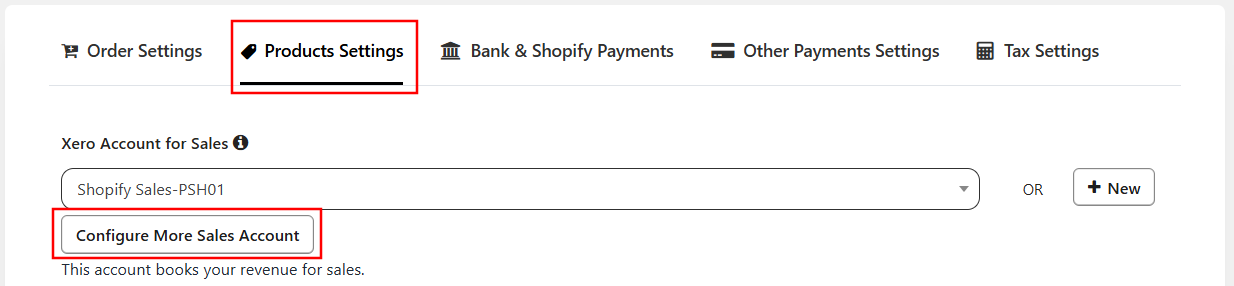
Once our support team set this feature, you can view the mappings by navigating to the “Configure More Sales Account” button from the “Product Settings” tab of our app.
If you need to add more mapping in future then you can inform our support team OR you can click on '+' sign to add more mappings. Add the mapping there by selecting the product type from the drop down list and account against it and save the mappings. Then, you need to click on the Next button located at the bottom right side of our app till you reach the last tab and then finish the settings to save all data.
